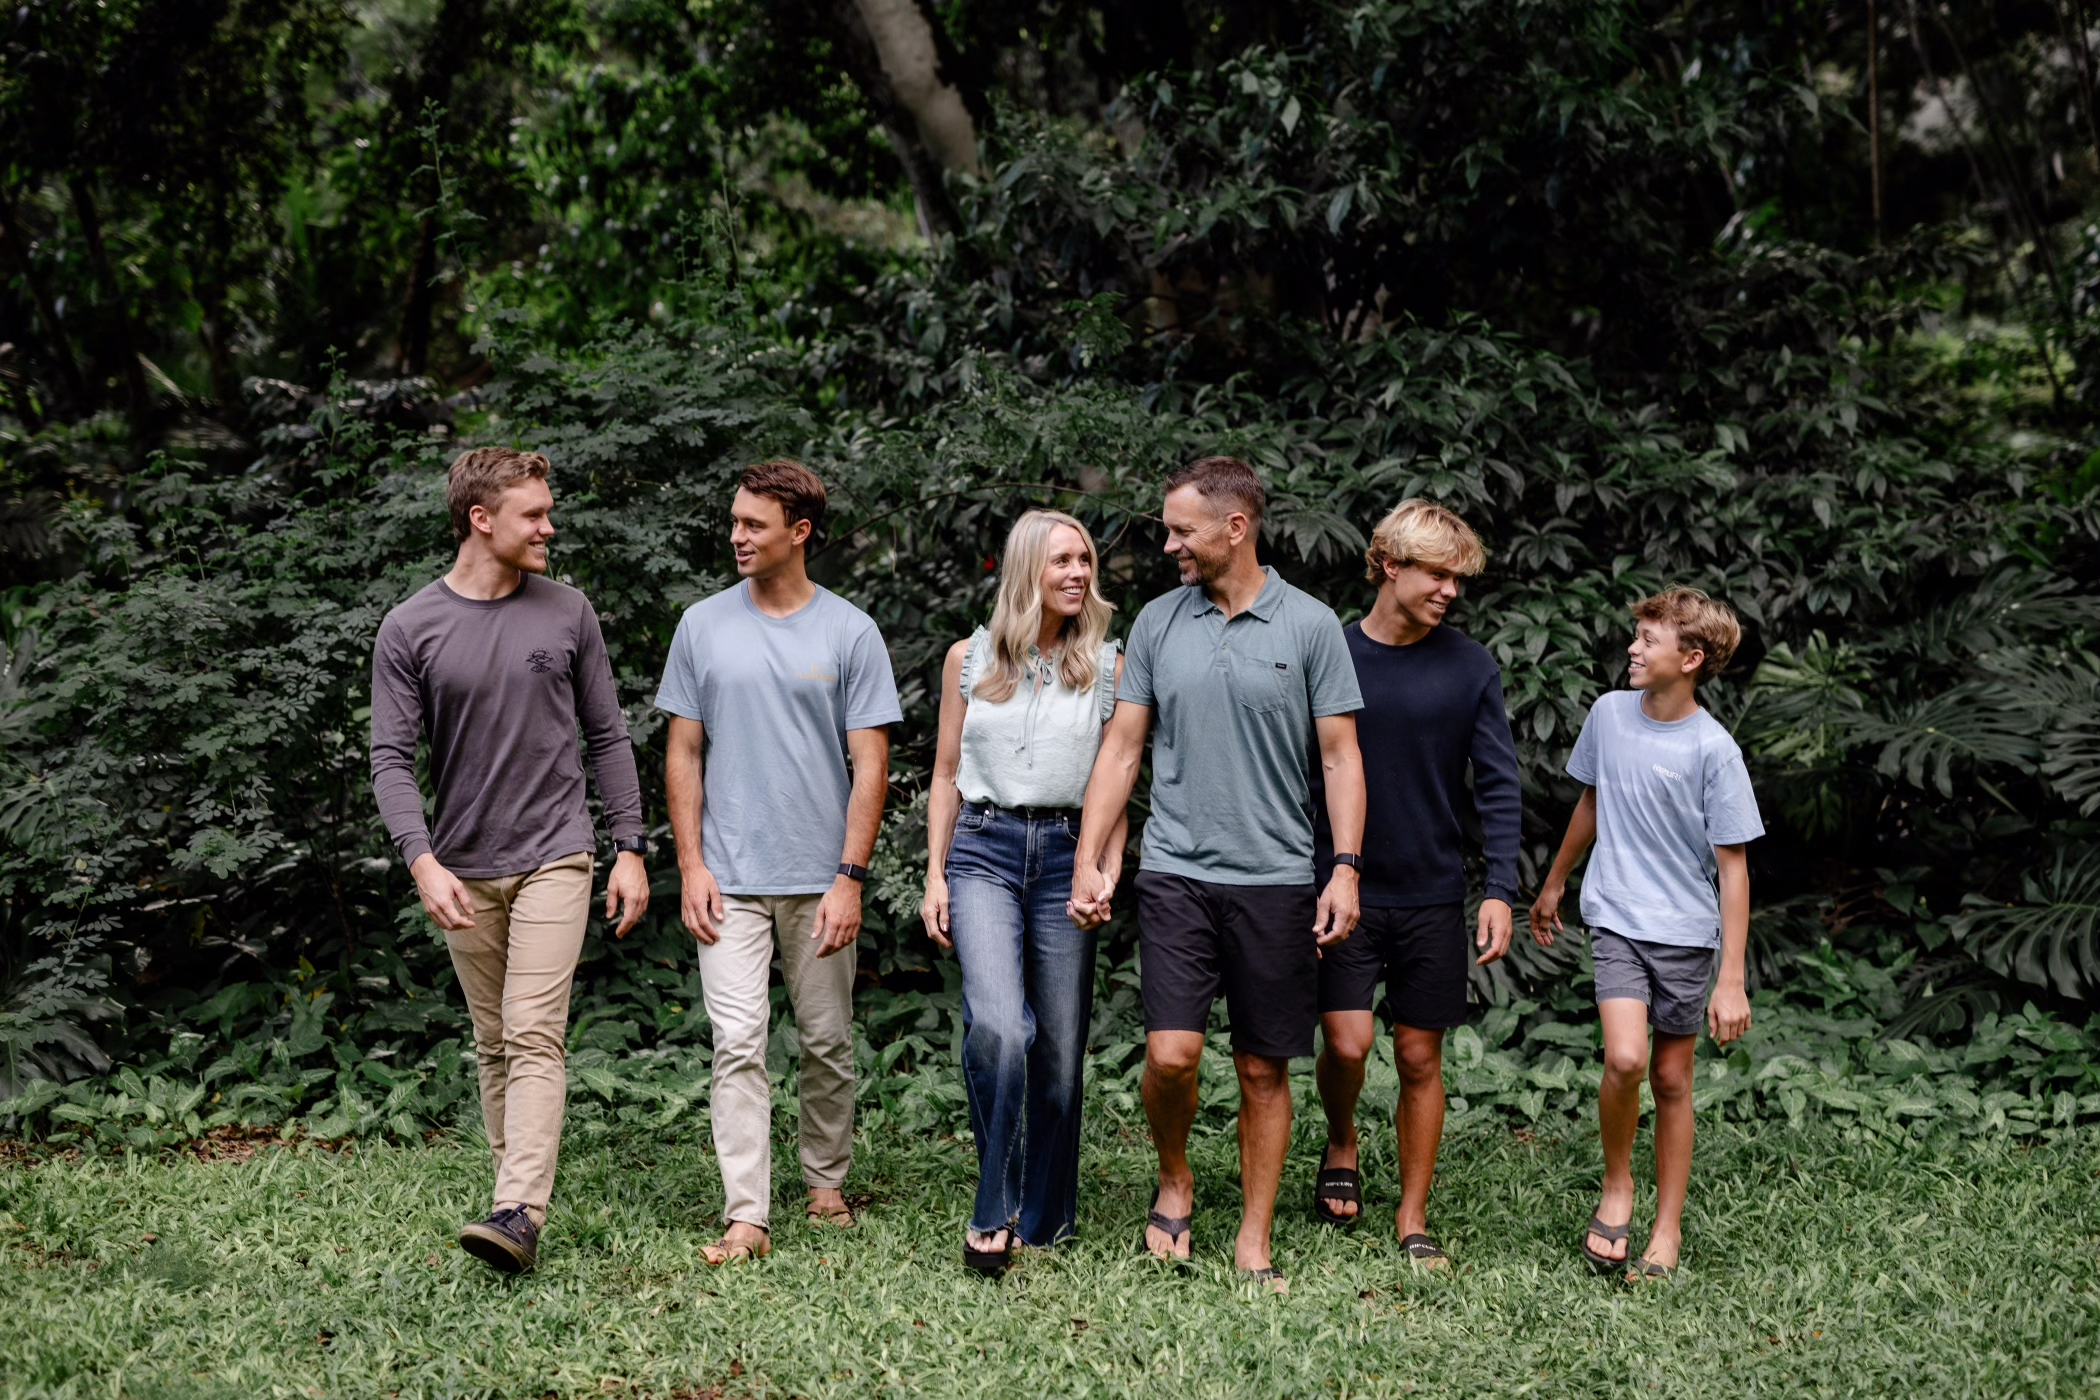
Helping you
Raise amazing kids and build strong families.

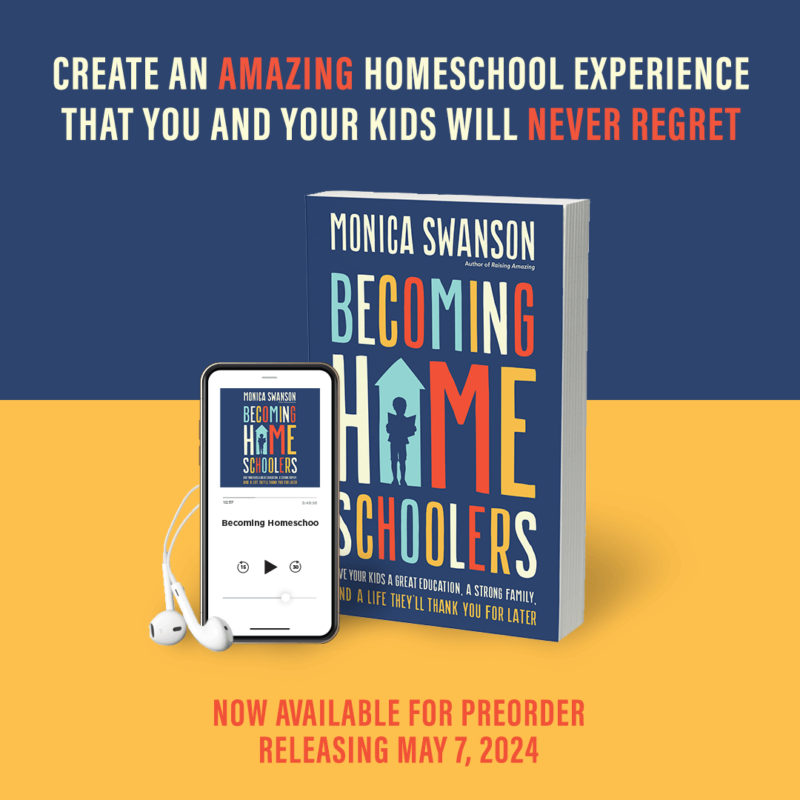
Pre-order my new book Becoming Homeschoolers
Navigate your real-world concerns about school, culture, and what it takes to create an amazing homeschool experience that you and your kids will never regret!
If you’ve ever wondered whether you have what it takes to homeschool your children, look no further. Parenting author, podcaster, and homeschool mom Monica Swanson is here to tell you: you can do it. In fact, it can be the most fun, family-unifying, character-building, life-equipping experience you and your children will ever have.


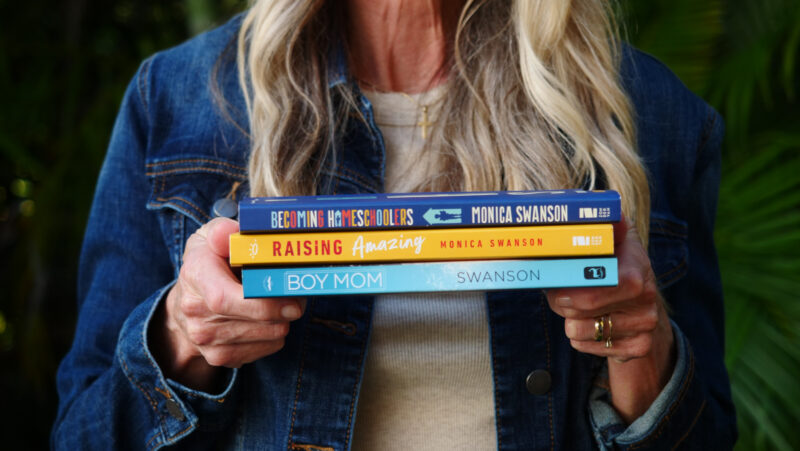
Books
Helping parents focus on what matters most to raise kids of character and faith in today’s crazy world! Each book is packed with helpful resources, practical ideas, and hope. “Like a big-sister mentor to parents in the thick of it!”
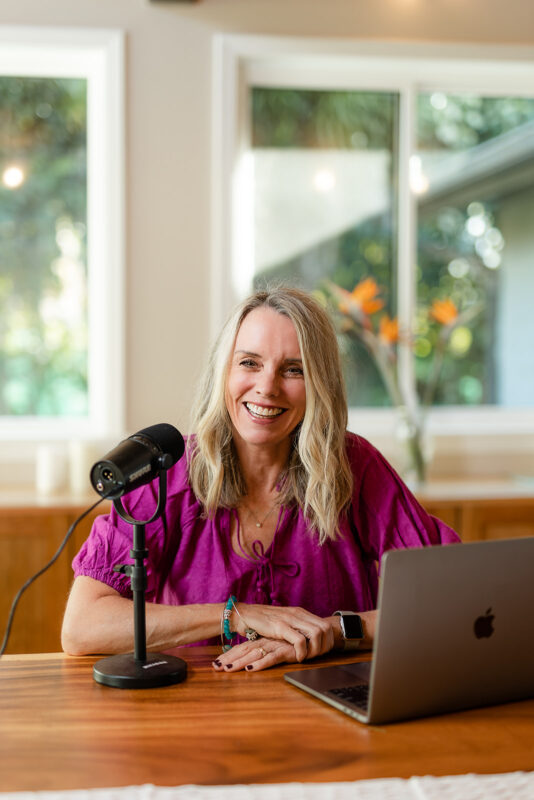
Podcast
Welcome to the Monica Swanson Podcast (previously: The Boy Mom Podcast) where I share practical advice and Biblical wisdom for raising amazing kids and building strong families. (And more!)
Blog
Find 12+ years of my my writing on parenting and marriage, faith, friendship, fitness, and more! Blogging will always be my favorite! ♥️
Recipes
I love to share (mostly) healthy recipes, which are all tested and approved by our family. If I make it and kids love it, I share it!


Healthy Mind and Body
My background is in sports medicine and fitness, and I am passionate about encouraging women and families to embrace a healthy, balanced lifestyle, (which starts with a healthy mind!)

Join my weekly email community where I share updates, encouragement, great resources, and usually some good laughs!.
As a gift for joining my email community I will email you a printable download with 40 Character-inspiring Movies, Books, Quotes, and Verses to enjoy with your family!